
As I was packing up my project bucket with all my supplies, I came up with yet another idea to pile on top of the others. Long story short, I completed two crafty things off of my list tonight - one less successful than the other.
My intention was to try to make one of those distressed wood signs. I thought - sounds easy enough - so I got some free wood scraps off of freecycle.org and a pretty kick ass tutorial here to work from. I figured if it didn't take me too long to make then - boom - everyone gets a thoughtful homemade gift for Christmas this year. (I need some practice on this one, as you'll see later)
As I was neatly arraigning all my stuff in the Tupperware bucket, it came to me. My little guy loves Blue's Clues and has this brush from Build-A-Bear that has a blue paw print on it. He puts it on the floor and yells "A clue! A clue!" and it's the most adorable thing ever. Why not make him his own Blue's Clues game and try to teach him to play for real? Exactly. (Thank you Adderall.)
I started with my supplies for the distressed wood. I had picked out a quote to use (which I think is where I got a little too ambitious) and a font that I liked and printed a mirror image... Please don't ask me how... I barely figured it out for myself and I don't think I could remember if I tried. I also had my wood, some sandpaper, scissors, paint (I ended up using a different color than the silver so never mind that...) and a paint brush.

I then sanded the wood down just a little to make sure no one got splinters and there was a few rusty nails that needed to be removed for those of us who aren't big fans of tetanus. Then I got all my supplies ready to do the base coat.
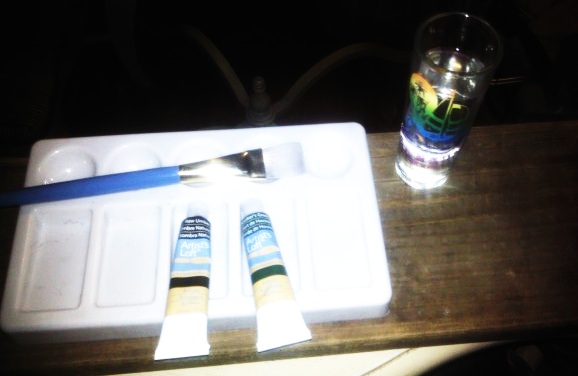
Don't get excited... that shot glass has water in it for me to use to water down my paint. This is where I made my first mistake. I chose a color that was too dark and I didn't water it down nearly enough. Which really just means more sanding later but it threw me off for the rest of the project.

The wood was darker to begin with. But I went with it. I set this out to dry and moved on to start (and finish!) my Blue's Clues project.
For this, I had printed out 20 color copies of the paw print "clue". I realize that 20 is a little excessive, but it left me room to make a mistake or two and it means that my little guy can destroy or lose a few along the way and I don't have to start all over again. I also printed a blank "handy dandy notebook" cover. I found a small notebook with a hard cover and - bonus! - it has an elastic to hold it shut and an elastic pen holder on the side. I also used duct tape, my laminating machine and crayons.

I cut out the paw prints and the handy dandy notebook, colored the notebook in with crayons and mounted it on black construction paper. The small notebook that I found had my mom's work logo on it and was a different color than I wanted to I wanted to cover it up as best as I could, so I covered it with a layer of duct tape all around. That stuff comes in super handy!

Then it came time to use the best tool of all time... my laminating machine. Best $30 ever spent. I use it once a week at least. I didn't do any research on brands before I went to buy it, it was the only one they had at Walmart and I bought the corresponding laminating pouches. Here's what I use:

Had to wait for it to warm up...

I use the 5 setting when I put construction paper through because it makes me feel better about how it will come out. I also put each sheet through twice... It might be OCD. I had concerns that the crayon on the notebook that I colored would melt, but.....

... it didn't! Everything came out perfectly and all that was left was to cut everything out and attach the "handy dandy notebook" to the front cover of the duct taped notebook. Tadaaaa!


Super cute! And finished!
Next came the hard part. I cut up my quote for the sign and put it in position face down on the board and started brushing water over it to transfer the ink from the paper to the wood.


Well, I didn't take any more pictures other than the (somewhat) finished product because I thought I screwed everything up. I neglected to RUB the wet paper with the edge of a Sharpie (oh yeah, I forgot to include that in my list of supplies... sorry) so I couldn't understand why it wasn't transferring. After several attempts - and several close calls - I figured it out. I then went through and outlined the letters on the wood with the Sharpie and then went back through and painted them. It came out looking like this:

Not a great picture, I know, but these were all taken with my phone so I apologize. This needs to be sanded now to lighten the paint and make it look more weathered. Once I get it right, I'll either attach picture hooks on the back or nails with some kind of rope or yarn to hang it with.
Whew. Busy night. It's now 6am and I have yet to go to sleep. My little guy will be home from his dad's in about an hour so maybe I should think about packing up and getting the house ready for his arrival.
Thanks for reading! More soon!
No comments:
Post a Comment